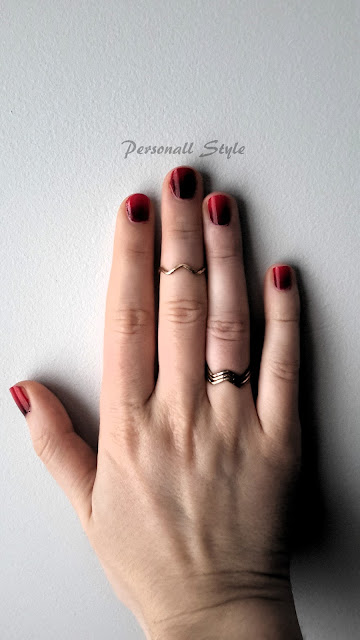
Empezamos aplicando una capa base para proteger las uñas, y a continuación escogemos un color blanco para la base del gradiente. Esto hará que los colores se vean mejor y el gradiente sea mas suave. En mi caso utilicé un color rosado blanquecino que se suele utilizar para la manicura francesa, ya que el blanco se ha terminado. Al ser colores oscuros no importa tanto que la base sea blanca completamente, pero si se necesita una base clara sobre la que los colores se vean bien.
We start by applying a base coat to protect the nails, and then we choose a white color for the base of the gradient. This will make the colors look better and smoother. In my case I used a whitish pink color that is often used for French Manicure since white is over. Being dark colors is not as important that the base is completely white, but a clearer basis on which colors look good is needed.
Posteriormente, pinté sobre una pequeña esponja blanca utilizando el tono granate y el rojo, superponiéndolos en la parte en la que se juntan, para crear el gradiente entre ambos. A continuación, aplique los colores con ligeros toques sobre la uña, procurando pintar también los lados.
Para acabar, apliqué una capa protectora transparente para darle brillo y suavizar los colores.
Later, I applied in a small white sponge both of the tones, the darker and the red one, overlapping in the part that comes together to create the gradient between them. Then I applied it with light touches on the nail, trying to paint the sides too.
Finally I applied a layer of top coat to brighten and soften the colors.


0 comentarios:
Publicar un comentario