Mostrando entradas con la etiqueta Inspired By. Mostrar todas las entradas
Mostrando entradas con la etiqueta Inspired By. Mostrar todas las entradas


Halloween Outfit


Peach and Brown Makeup Look

Empezamos aplicando una pre-base, que en mi caso es una crema hidratante, para que el maquillaje sea más duradero y no dañe el rostro.
Comenzando por los ojos, aplicamos una base para que los colores sean mas intensos, que en mi caso es un corrector iluminador.

We started by applying a pre-base, which in my case is a moisturizer, for makeup to be longer lasting and does not damage the face.
Starting with the eyes, we apply a base to make colors more intense, which in my case is an highlighter concealer.

Primero aplicamos un tono suave sobre todo el parpado móvil, extendiéndolo hacia arriba. He escogido el segundo color de la imagen, aplicando el tercero justo por encima del pliegue que junta el parpado móvil con el resto del ojo.
Además he aplicado un tono marrón sobre el color anterior, para darle más profundidad.
A continuación, en lugar de utilizar un trozo de celo como guía para el eyeliner, he aplicado una sombra de ojos negra. Esto le dará un efecto difuminado y además si te equivocas es fácil retirar la sombra y volver a aplicarla.
First we apply a soft tone on the entire mobile eyelid, extending upward. I have chosen the second color of the image, using the third one just above the crease.
I've also applied a brown tone over the previous color, to give it more depth.
Then, instead of using a piece of tape as a guide for the eyeliner, I applied a black eye shadow. This will give a blurred effect and also is easier to remove and redo, if you mess drawing it.
Posteriormente, acabamos de dibujar el ala sobre la sombra de ojos con un eyeliner liquido negro y con la sombra mas oscura trazamos una linea lo más pegada posible a las pestañas inferiores.
Por último apliqué un tono anaranjado (el primero color de la imagen anterior) por debajo de las pestañas inferiores hacia la esquina interior del ojo, lo que le da un poco más de color al conjunto.
Then just draw the wing over the eye shadow with black liquid eyeliner and with the darker shade trace a line stuck to the lower lashes as far as possible.
Finally I applied an orange shade below the lower lashes to the inner corner of the eye, which gives a little more color to the look.

Para los labios apliqué un lápiz en tono marrón, llamado Funky Brown, número 11 de Bourjois Paris y por encima hacia el centro de los labios, un tono rosa palo número 15 de Deliplus. Se pueden apreciar en la siguiente imagen.
For the lips I use a lip pencil in brown tone called Funky Brown, number 11 from Bourjois Paris and a pink ton from Deliplus, number 15, over it. They can be seen in the image below.

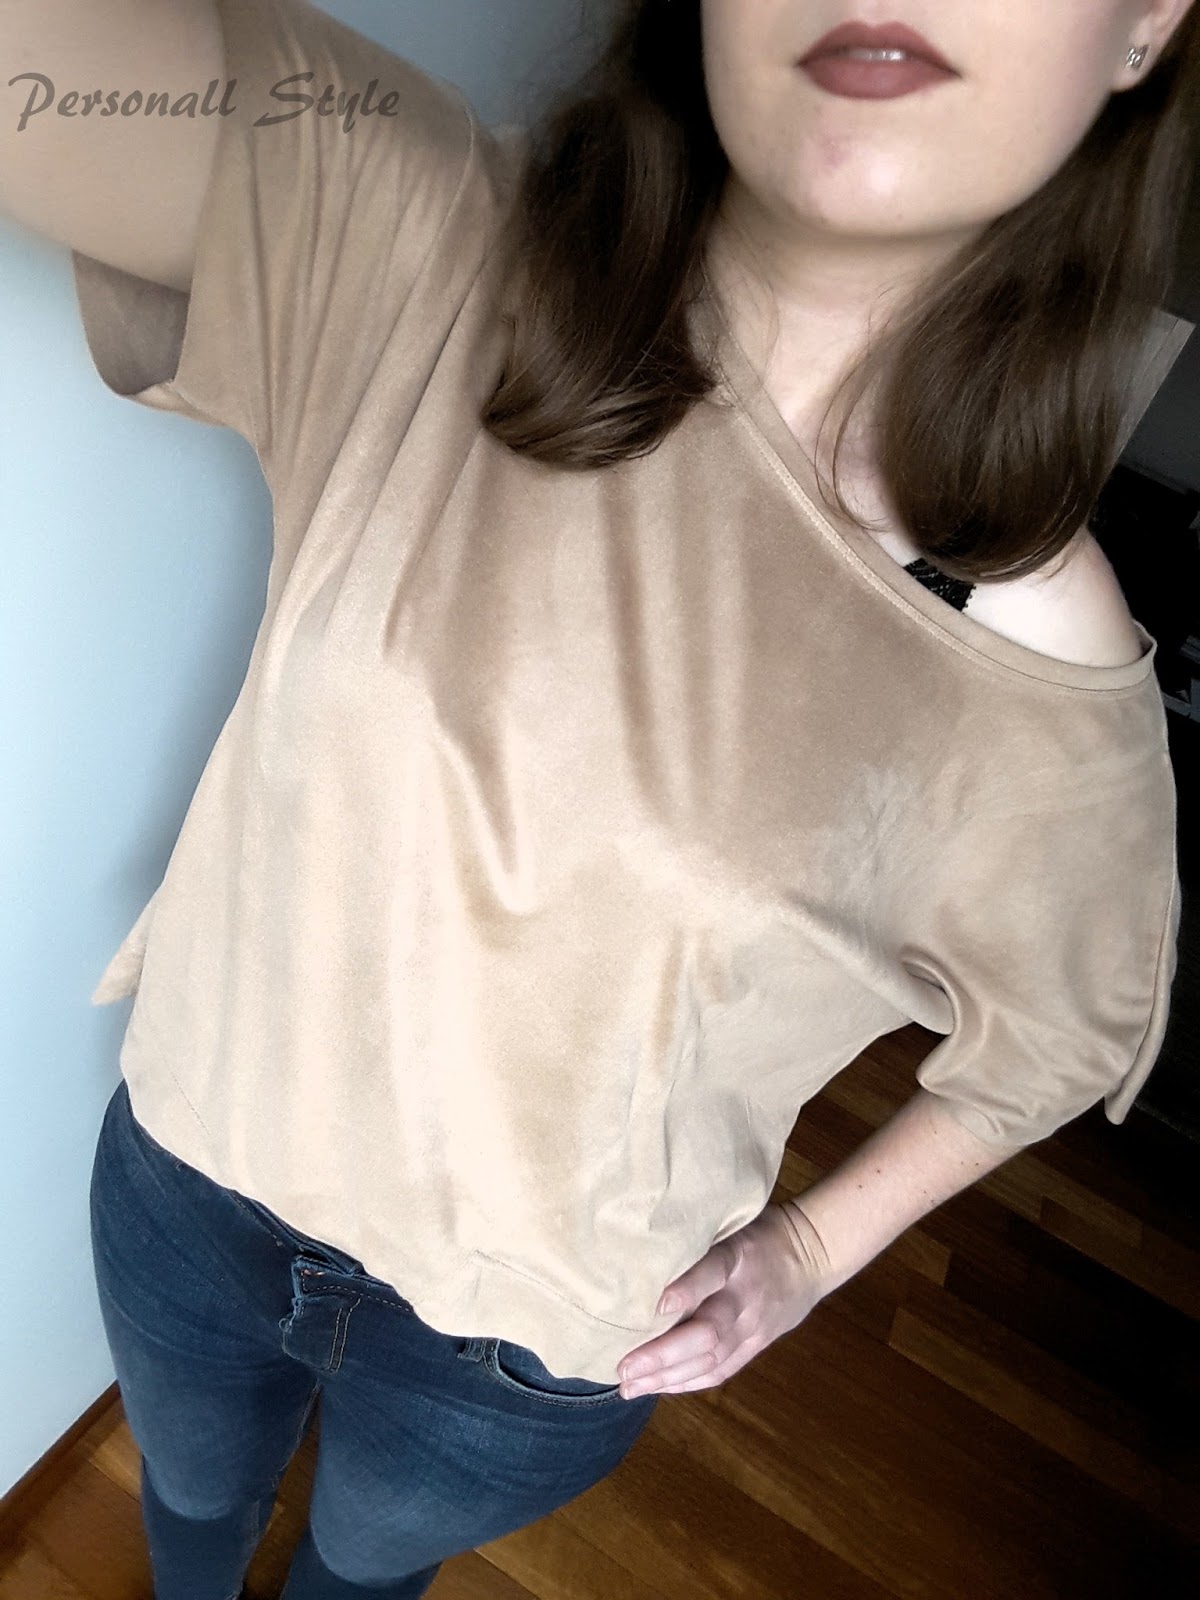
Combiné el maquillaje con una camiseta marrón claro con hombro descubierto de Stradivarius y un pantalón vaquero oscuro de Mango.
I combined the makeup with a light brown shirt with naked shoulder from Stradivarius and dark jeans from Mango.
Low Braid Hairstyle
Low Braid Hairstyle

How is it done?
Frist, We do braids of root to the sides of the head until you reach the height of the ear.
Then, We continue braid with all the hair.
Ultimately, We open a little strands of the braid and we put half of braid in the hollow .
¿Cómo se hace?
Empezamos haciendo trenzas lo más pegadas a la raíz en los laterales de la cara hasta llegar a la altura de la oreja.Después, continuamos la trenza pero cogiendo todo el pelo.
Por último, abrimos un poco el principio de la trenza grande y pasamos parte de la coleta por el hueco.
Si queda muy flojo, sujetar con orquillas.

Soft Pink and Yellow Nail Art


Aplica una base protectora sobre la uña, que además hará que los colores sean mas intensos.
A continuación aplica el color rosa suave, cubriendo la totalidad de la uña.
Cubre después con el tono amarillo, pero solo en la mitad de la uña, trazando un triángulo sobre una línea diagonal.
Si quieres un acabado mas preciso o no tienes muy buen pulso, coloca un poco de celo tapando la parte que se quedará con el color rosa, y aplica el amarillo en el resto de la uña que quede destapado. Procura al retirar el celo hacerlo suavemente y en dirección hacia la parte opuesta en la que has aplicado el color amarillo. Además recuerda pegar varias veces el trozo de celo sobre la piel de la mano, si ves que tiene demasiado adhesivo, ya que podría estropear la capa anterior.
Finalmente aplica una capa de TOP Coat.
----------
Apply a protective base on the nail, which also will make the colors more vivid.
Then apply the soft pink, covering the entire nail.
Then covered with yellow tone, but only half of the nail, tracing a triangle on a diagonal line.
If you want a more precise finish or do not have very good pulse, put some heat covering the part that will keep the pink, and applies the yellow tone in the rest of the nail that it uncovered.
Try to remove the heat gently and in the direction of the opposite side where you have applied the yellow color. Also remember stick several times the piece of tape on the skin of the hand, if you see that you have too much adhesive, since it could spoil the previous layer.
Finally apply a layer of top coat.


En un primer lugar opté por aplicar primero la capa amarilla y después la rosa palo sobre ella, sin embargo, esta combinación no resultó ser muy acertada, ya que el color rosa, al ser mas claro y no tan intenso como el amarillo, adoptaba un tono mas amarillento y apagado. Os aconsejo que apliquéis una capa fina de TOP Coat sobre el amarillo antes de aplicar el rosa, así los colores se separan mejor y se ven mas intensos.
---------
In the first place I chose to first apply the yellow layer and then the pink one over it, however, this combination was not very successful, since the color pink, being lighter and not as intense as the yellow, adopted a more yellowish and dull tone. I advise you to applies a thin layer of top coat over yellow before applying pink so the colors are going to be more intense.


Por último añadir que se puede crear multitud de diseños con este estilo, en incluso sin pintar las uñas de las dos manos iguales. Se podría pintar en una mano una superposición y en la otra cambiar el orden de los colores, o incluso la dirección de las líneas que separan los colores en la uña.
-------------
Finally to add that you can create a multitude of designs with this style. You could paint in one hand a superposition and the other change the order of the colors, or even the direction of the lines separating the colors in the nail.
Electric Dark Blue French Manicure

Aplica una base sobre la uña para protegerla.
A continuación aplica una capa de rosa palo, el que típicamente se usa para la manicura francesa. Procura que quede uniforme en la primera capa, en mi caso tuve que aplicar una más para ello, lo que provocó que se viera demasiado blanquecino. Lo que se busca es que sea un color suave y brillante.
Aplica este color en todas las uñas menos en el dedo corazón. Puedes hacer las combinaciones que quieras o pintar todas las uñas del mismo estilo. Sin embargo, yo opté por este diseño porque me encanta este color azul oscuro eléctrico y quería que se pudiera apreciar más en el conjunto.
Para el resto de las uñas dibuja una linea fina con el azul oscuro eléctrico procurando que quede lo mas limpio posible. Si te equivocas ten a mano un algodoncillo o algún utensilio pequeño con el que puedas quitar de forma más precisa el sobrante.
Para finalizar aplica una capa de TOP COAT para que el diseño dure mas tiempo y que adquiera el brillo característico de la manicura francesa.
Después de cada paso deja secar bien las uñas, para evitar que al aplicar la siguiente capa puedas quitar o emborronar la anterior.

Apply a base over the nail to protect it.
Then apply a layer of pale pink, which is typically used for French manicures. Try to stay uniformly in the first layer, in my case I had to apply more for it, prompting it to look too whitish. What is sought is to be a smooth and shiny.
Apply this color in all nails but the middle finger. You can make the combinations you want or paint all nails the same style. However, I chose this design because I love this dark electric blue and I wanted to be appreciate in the set.
For the rest of the nails draw a fine line with the dark electric blue making sure you do it as clean as possible. If you make a mistake is better to have a swab or a small tool with which you can remove the excess more precisely.
Finally apply a layer of TOP COAT so that the design last longer and acquires the distinctive brightness of the French manicure.
After each step left to dry, to avoid applying the next layer can remove or blur the above.


Suscribirse a:
Entradas
(
Atom
)
About us
Somos creativas, entusiastas con un montón de ideas para enseñaros. Nos encanta todo lo que sea moda, maquillaje, etc


